
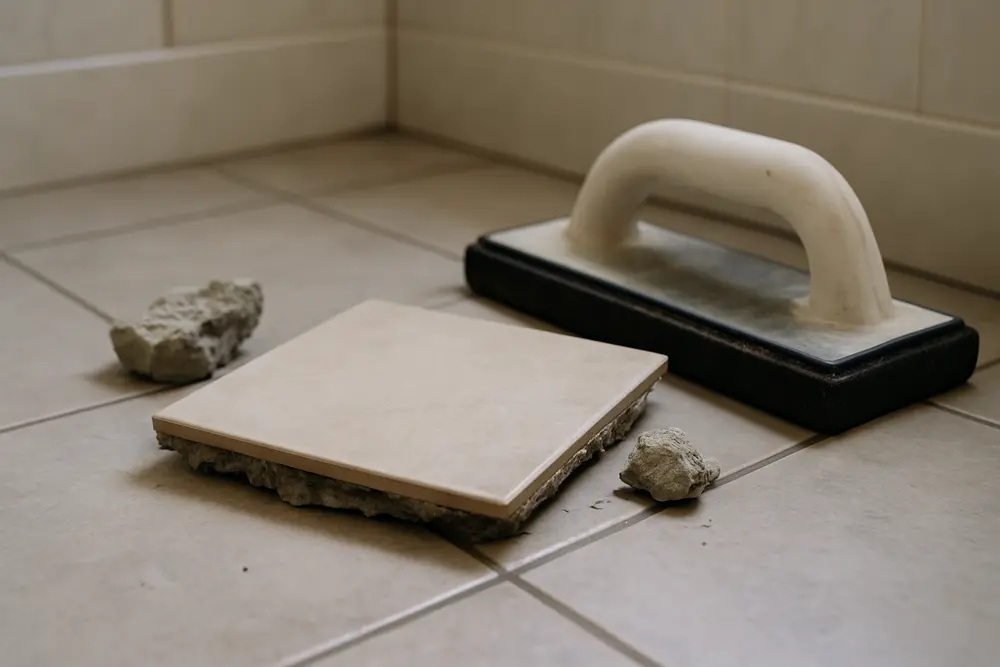
You may handle a wet tile floor by mopping it and running a fan until the grout returns to its normal color. That approach misses the part of your floor that dries last. Water under tile can spread through the mortar and into absorbent subflooring while the room above looks perfectly normal.
The opposite reaction can be just as costly. Tearing out every tile because water touched your floor is often overkill. The real question is whether the complete assembly has a workable drying path and remains structurally sound. You can’t answer that by looking at grout color.
How Water Gets Under Tile
Water usually enters your floor through weak points in the finish. Grout joints and openings around toilets provide direct routes. During a substantial leak, water can also cross a doorway and slip beneath the exposed edge of your flooring without ever covering the entire tile surface.
Gravity controls the initial flow, but it doesn’t explain the full affected area in your home. Cement-based grout and mortar contain connected pores that pull water sideways through capillary action. Moisture can therefore reach tiles that you never saw submerged.
Installation gaps create another migration route beneath your tile. Incomplete mortar coverage can leave channels between trowel ridges, while seams in underlayment may carry water beyond the original puddle. Those spaces aren’t helpful ventilation cavities. They’re irregular pockets where liquid can collect.
Once you stop the active leak, moisture continues moving as vapor. It tends to move toward areas with lower vapor pressure when an open path is available. The EPA’s moisture-control guidance connects liquid water with the assembly’s drying potential. Your tile floor must be evaluated the same way.
Why Dry Grout Can Fool You
The exposed face of a grout joint dries before the deeper joint and mortar bed. Air movement removes moisture from that thin surface zone, causing the grout to lighten. That color change tells you the surface is drying. It says very little about moisture beneath the center of your tile.
Porcelain makes this effect more pronounced. The Tile Council of North America defines porcelain tile as having water absorption of 0.5 percent or less. That low absorption is useful for durability, but it means moisture under your porcelain tile gets little drying capacity through the tile itself. It generally has to migrate toward grout joints or an exposed edge.
Larger tiles and narrow joints reduce the available evaporation area even further. A wet mortar bed beneath a 24-inch porcelain tile may have a long trip to the nearest joint. Meanwhile, that joint can look dry because its exposed surface has already released moisture. Grout color can reveal surface conditions, but it can’t establish that your mortar or subfloor has reached an acceptable moisture condition.
The Layers Below Control the Outcome
Your tile floor is a layered system, and the material beneath the tile often matters more than the tile itself. Before anyone recommends drying or demolition, you need a reasonable picture of the assembly.
Tile Bonded to Concrete
Concrete can absorb water and redistribute it through your slab. Tile bonded with compatible cementitious mortar may remain serviceable, although drying can be slow when evaporation is limited to the joints. Existing slab moisture can complicate your assessment, especially in slab-on-grade homes common around San Antonio. A high reading after a leak doesn’t automatically prove that every bit of moisture came from that leak.
Backer Board Over Wood
Cement backer board tolerates moisture better than many wood products, but it isn’t automatically waterproof. Water can pass through untreated seams or fastener penetrations and reach the wood below. If you look only at the backer board, you can miss a wet subfloor beneath it.
Plywood and OSB
Wood panels in your floor deserve close inspection because they change dimensions as their moisture content changes. Panel edges can swell, and fastener areas may distort. The USDA Wood Handbook explains the relationship between moisture and dimensional change in wood products. A panel may eventually dry yet retain permanent swelling that allows your grout to crack or tiles to move.
Mortar Beds
A traditional mortar bed can store a substantial amount of water because it’s much thicker than a modern thin mortar layer. Your top grout may normalize while the lower portion remains damp. Drying time depends heavily on whether the bed is open from below or trapped against another low-permeance layer.
Waterproofing Membranes
A continuous membrane may protect your structural subfloor, which is good. The same membrane can limit downward drying and leave water above it beneath the tile. Uncoupling products may also create channels that alter the affected footprint. A membrane changes the water path, but it doesn’t make your installation immune to water damage.
How Professionals Find Hidden Water
At Sapphire Restoration, we begin by identifying the source and likely floor construction before treating a meter reading as meaningful. How long water was present matters, as does your ability to inspect the floor from below. If you can inspect a stained ceiling beneath the room, you’ll have different evidence than you would with tile installed directly over concrete.
A moisture map records comparative readings at repeatable locations throughout your floor. We extend that map beyond visible discoloration because lateral migration rarely respects the edge of the original puddle. By rechecking the same locations, we can show you whether moisture is declining over time.
Infrared cameras help us screen broad areas quickly, but they don’t see water. They display surface-temperature patterns. Evaporation may cool a wet area, although air-conditioning registers or sunlight can produce similar patterns. Thermal imaging identifies where your floor needs closer testing; it isn’t a drying certificate.
Noninvasive meters can help locate unusual areas by measuring electrical properties through your floor’s finish. Tile thickness and mineral content affect those readings. Metal or pipes can distort them further. Unless a meter is calibrated for your exact assembly, its number should be treated as a relative value, not a precise moisture percentage under the tile.
Direct testing may be justified when the consequences for your floor are significant. A restorer might use a pin meter from an unfinished ceiling below or remove one tile in a controlled location. Limited access may sound less appealing than a completely noninvasive scan, but a small inspection opening is sometimes what prevents a much larger guess.
What Concrete Tests Actually Tell You
Concrete slab testing has its own methods. ASTM F2170 in-situ relative-humidity testing uses probes installed in drilled holes to measure conditions inside your slab. The method is useful when slab moisture affects whether your flooring can remain or new materials can be installed. It doesn’t determine whether grout or wood underlayment is dry.
Calcium-chloride testing answers a different question by estimating moisture-vapor emission from a prepared concrete surface. Your existing tile prevents proper testing of the covered surface unless flooring is removed. Anyone presenting the two concrete tests as interchangeable is oversimplifying your problem.
Can a Wet Tile Floor Be Saved?
Your floor has a better chance of surviving when clean water was removed promptly and the tile remains firmly bonded. You still need a dimensionally stable substrate and a viable route for evaporation. Moisture readings should show consistent improvement.
Consider tile installed over a sound concrete slab after a short plumbing release. If moisture can escape through the joints or exposed edges, monitored drying may preserve your installation. Demolishing the entire floor on day one could leave you with an expense that has little technical justification.
The calculation changes if your plywood edges swell or tiles develop new hollow areas. Drying doesn’t reverse delamination or restore a distorted panel to its original thickness. Your visible tile might be reusable, but that doesn’t mean the assembly beneath it survived.
Contamination can settle your decision before drying performance does. Water from a supply line isn’t evaluated the same way as sewage or outdoor floodwater. After flash flooding, parts of the assembly may have to be opened for cleaning because trapped contaminants can’t be extracted through intact porcelain. The EPA’s flooded-homes guidance also distinguishes flood cleanup from routine drying after a clean-water leak.
What Effective Drying Requires
Getting water out from under your tile starts with stopping the source and extracting any standing water you can reach. Fans alone can’t compensate for an active plumbing leak or standing water trapped at the floor perimeter. Your adjacent walls and cabinets need inspection because they may provide an evaporation path.
Dehumidification lowers the amount of moisture in the surrounding air, which encourages wet materials to release vapor. Air movement carries that vapor away from exposed grout and edges. It has a limited effect beneath your fully bonded tile because air isn’t circulating through the mortar bed.
Access from below can change your drying plan. A tile floor over plywood may dry more effectively when the ceiling or crawlspace side is open and dehumidified. If insulation blocks the underside, leaving it untouched while blowing air across the tile may produce impressive-looking equipment noise with disappointing results.
Heat can accelerate evaporation by increasing vapor pressure, but more heat isn’t automatically better for your floor. Uncontrolled heating may stress adhesives or move moisture into neighboring materials. Useful heat has to be controlled and paired with dehumidification.
Specialized pressure-based systems can help your floor in selected assemblies by encouraging air movement through available channels. They aren’t magic. Fully bonded porcelain over a continuous waterproof membrane may offer too little airflow for such a system to accomplish much without selective removal.
How We Decide Drying Is Complete
A defensible dry standard comes from comparison and documented progress. We compare affected locations with an unaffected area built from similar materials, then track your readings under similar indoor conditions. “Zero moisture” isn’t a realistic target for concrete or wood because building materials normally contain some moisture.
Your readings should stabilize near the chosen dry standard without signs of movement. Persistent odor or fresh cracking calls for more investigation even when the room air is dry. Equipment performance data can show you that a dehumidifier is removing water, but it can’t prove that the concealed floor layers are done drying.
Plateaued readings require a decision about your floor. You may need more access or selective removal. Continuing the same setup for several extra days because the machines are already in place is not a plan. If you need professional water damage cleanup in San Antonio, ask how your affected layers will be measured and what evidence will establish completion.
Common Questions About Moisture Beneath Tile
How Long Does Water Take to Dry Under Tile?
There’s no reliable universal time for your floor. The assembly and access from below both affect drying. A thin layer over concrete with exposed edges behaves differently from a saturated mortar bed trapped above a membrane. Trend data gives you a better answer than a promised number of days.
Will Wet Thinset Mortar Dissolve?
Properly cured cementitious thinset generally doesn’t dissolve simply because it gets wet. Bond problems are more often connected to poor original coverage or substrate movement. Testing the bond and supporting layers gives you a better answer than assuming your wet mortar has failed.
Can Mold Grow Beneath Ceramic Tile?
Ceramic tile and cement mortar provide little food by themselves, but wood subflooring or paper-faced materials can support growth when dampness persists. A musty odor or wet wood beneath your tile deserves investigation. Surface cleaning won’t address growth inside a concealed assembly, which may require professional mold remediation.
Who Should Check Water Under a Tile Floor?
Choose a water-damage restorer who can map moisture and explain your dry standard before placing equipment. If your tile floor is wet or its readings have stalled, call (210) 664-0770 or use our online estimate request so we can check the assembly before hidden moisture causes more damage.
References
- Tile Council of North America defines porcelain tile (tcnatile.com)
- Service unavailable (fpl.fs.usda.gov)
- Flooded Homes Cleanup Guidance (epa.gov)